Sometimes, a minor issue will make you so annoyed that you will be desperate to solve it, such as how to create a Dashed Line Effect in Photoshop. I have encountered such a small, bitter experience; this is why I think like that. However, just follow these 3 questions to get the solution.
1. How do you set up your Pen Tool to make a Dashed Line Effect?
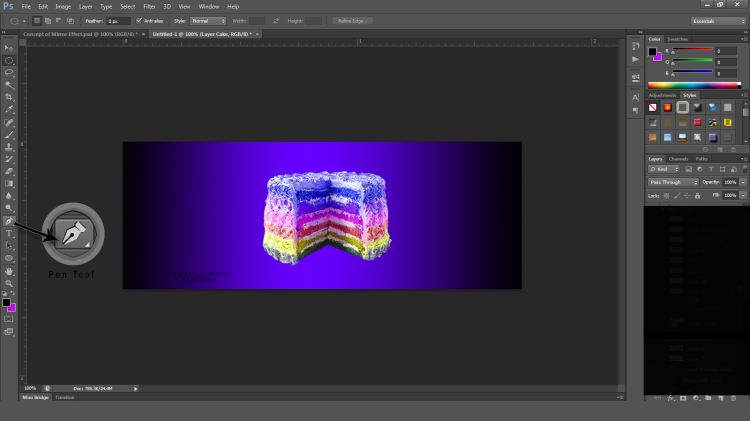
Open whatever image you want to create a Dashed Line Effect around it.
Here, I have chosen a “cake.jpg”.
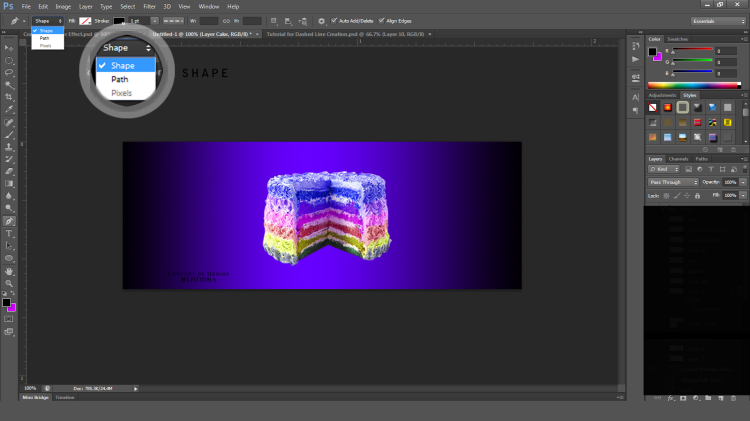
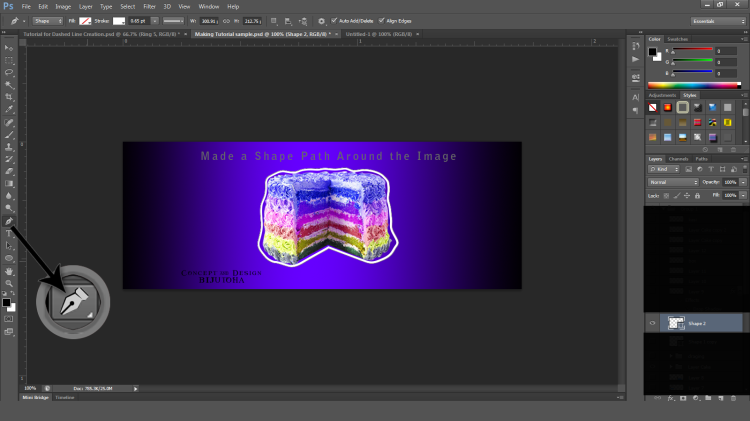
Now select the “PEN TOOL” then choose “SHAPE” from the drop-down list in the “Options Bar.”
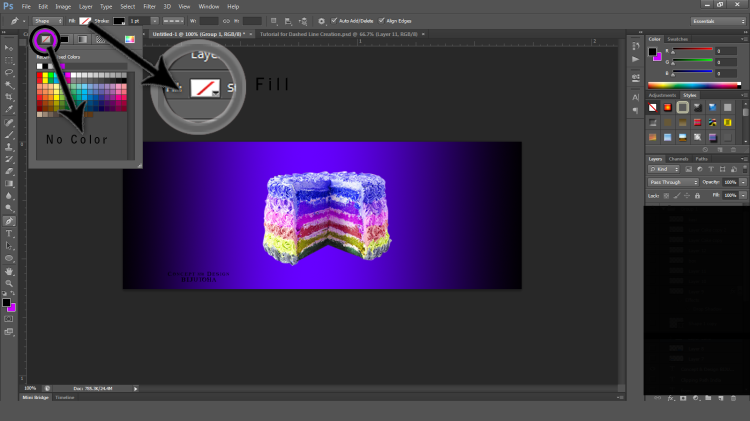
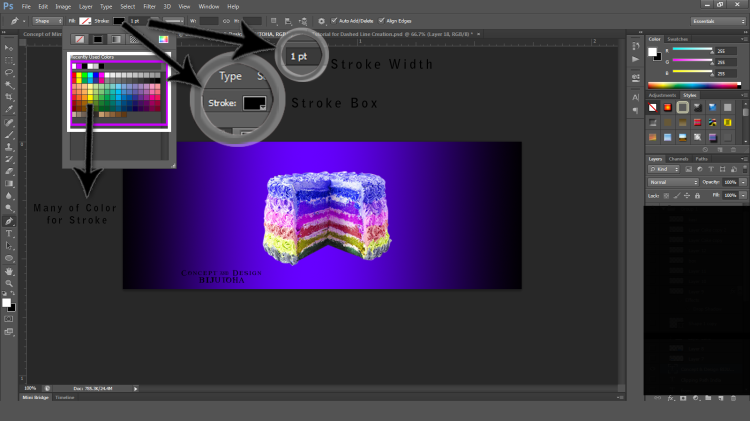
Set “No Color” by selecting “Fill.” After click on the “STROKE” box and set whichever color you wish. I wished white and set my “Shape Stroke Width” 0.65 pt.
2. How to use Pen Tool for Making a Selection Path before Dashed Line Effect?
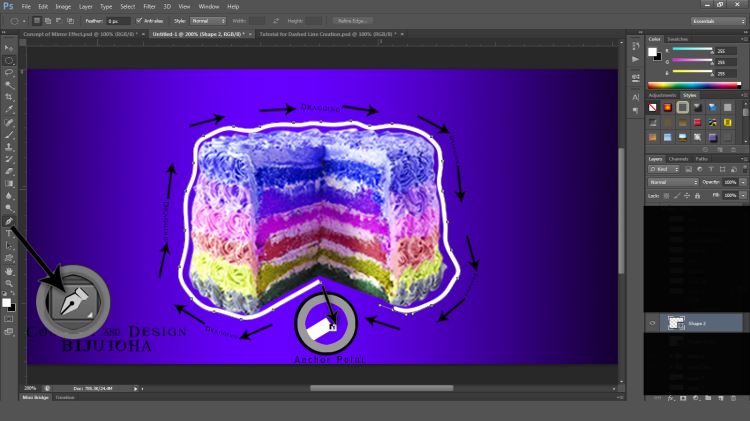
If you have done my first answer properly, you need to select around the image wherever you wish. Take pen tool. Create a shape path with some anchor points (The extent of your needs) around the image by clicking and dragging the pen tool. (You can zoom the image for perfection).
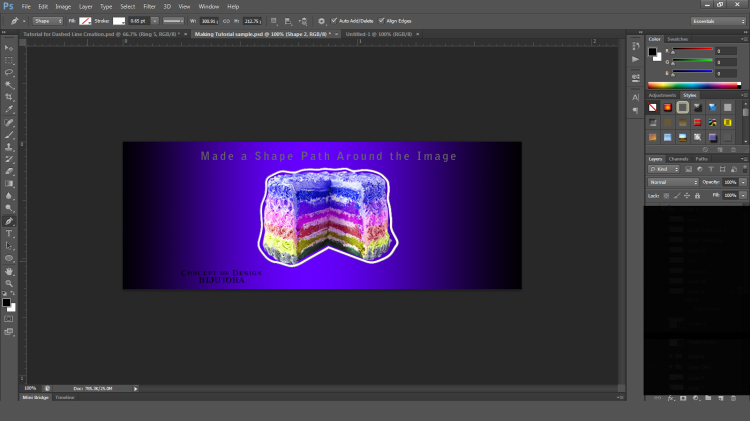
final output. …
3. How to Make & Configure Dashed Line Effect Finally?
So this is the last & final task after completing my second question. Select pen tool again with path selection, then click on “SET SHAPE STROKE TYPE” and choose Dashed Line Stroke. You can Configure your Dashed Line by clicking “MORE OPTION.” I set my Dash 4 and Gap between two Dashes 2 for this Design.
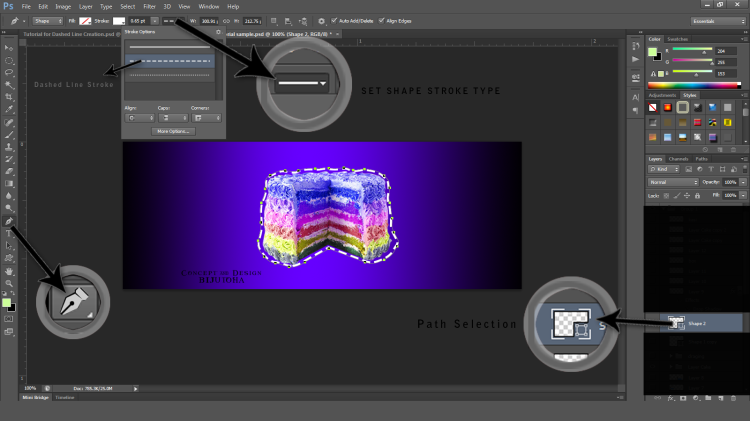
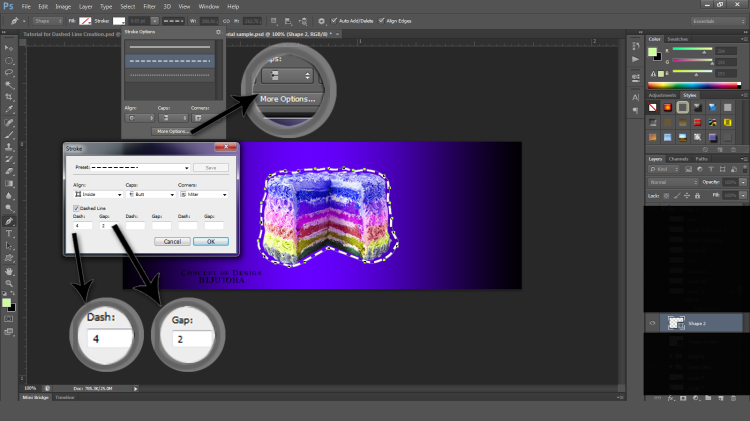
Wow! finally, you have done a Dashed Line Effect in Photoshop because your result is below.


Leave a comment